Getting Started
Follow these steps to install VerifIA, wrap your model, define your domain, and run a verification.
1. Install
2. Prepare Your Components
a. Domain Configuration
Create domain_rules.yaml with three sections:
variables: feature & target definitionsconstraints: input‐only feasibility checksrules: behavioral assertions (premises → conclusion)
See Domain Creation Guide for full details.
b. Model Card
Create model_card.yaml describing your staging model. Below is an example:
name: your_model
version: '1'
type: regression
framework: sklearn
feature_names:
  - fearture_1
  - fearture_2
  - ...
target_name: target
local_dirpath: models
VerifIA will load models/your_model-1.pkl by default.
Supported extensions:
| Framework | Extension |
|---|---|
| sklearn | pkl |
| lightgbm | txt |
| catboost | cb |
| xgboost | json |
| pytorch | pth |
| tensorflow | keras |
However, you can set up exactly one of MLflow, Comet ML, or Weights & Biases via environment variables (see below) and VerifIA will auto‑load from your model registry.
3. Run a Verification
from verifia.verification import RuleConsistencyVerifier

# 1. Arrange: load your domain rules
verifier = RuleConsistencyVerifier("domain_rules.yaml")

# 2. Act: attach model (card or dict) + data
report = (
    verifier
      .verify(model_card_fpath_or_dict="model_card.yaml")
      .on(data_fpath="test_data.csv")        # .csv, .json, .xlsx, .parquet, .feather, .pkl
      .using("GA")                           # RS, FFA, MFO, GWO, MVO, PSO, WOA, GA, SSA
      .run(pop_size=50, max_iters=100)       # search budget
)

# 3. Assert: save and inspect your report
report.save_as_html("verification_report.html")
4. Inspecting Results
- Open
verification_report.htmlin your browser. - Review consistency rates, compliance rates, and average deviations.
- Use
report.log_as_html("my_report")to attach the report to your model registry.
5. AI-Generated Domain
Don’t hand‑craft YAML by hand—let VerifIA’s DomainGenFlow do it for you in minutes. Point it at your data, docs, and model card, and you’ll get a complete domain spec ready to verify.
🚀 Launch the Gradio Domain Spec Generator
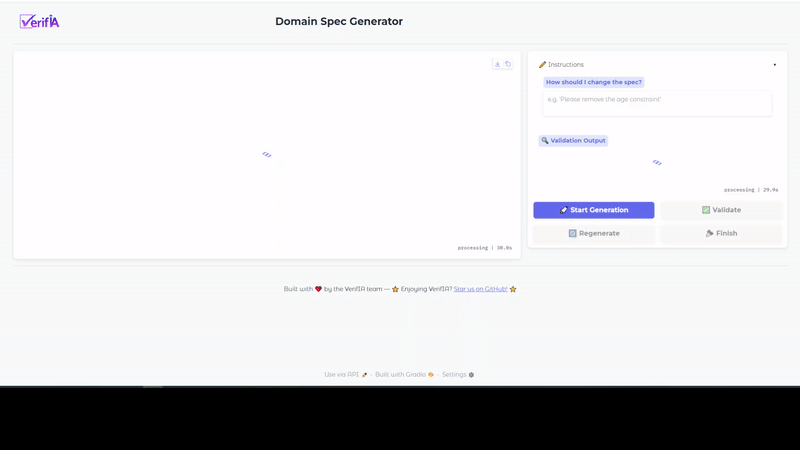
Fig. Human‑in‑the‑loop draft → edit → validate via Gradio UI.
Spin up the full Gradio interface with a single call:
from verifia.generation import DomainGenFlow

flow = DomainGenFlow()
flow.load_ctx(
    data_fpath="data/my_dataset.csv",        # or dataframe=df
    pdfs_dirpath="docs/domain_pdfs/",        # or db_str_content / vectordb
    model_card_fpath="model_card.yaml"       # or model_card=dict(...)
)
# 4) Launch the interactive UI
flow.launch()
What it does:
Behind the scenes, VerifIA’s DomainGenFlow will:
- Extract feature metadata via DataFrame agents
- Infer constraints & rules from your documents via retriever agents
- Draft a fully‑formed YAML containing:
- Variables (types, ranges)
- Constraints (inter‑feature formulas)
- Rules (premises → conclusions)
- Let you review, edit, and regenerate any section before exporting
Review, Refine, and then, Feed domain_cfg_path directly into RuleConsistencyVerifier or Save it as generated_domain.yaml.
Quick Links
- Concepts
- API Reference
- Tutorials
- Guides
- Use Cases
- Report a Bug
- Report a Docs Issue
- Request a Change
- Make a Pull Request